


Description
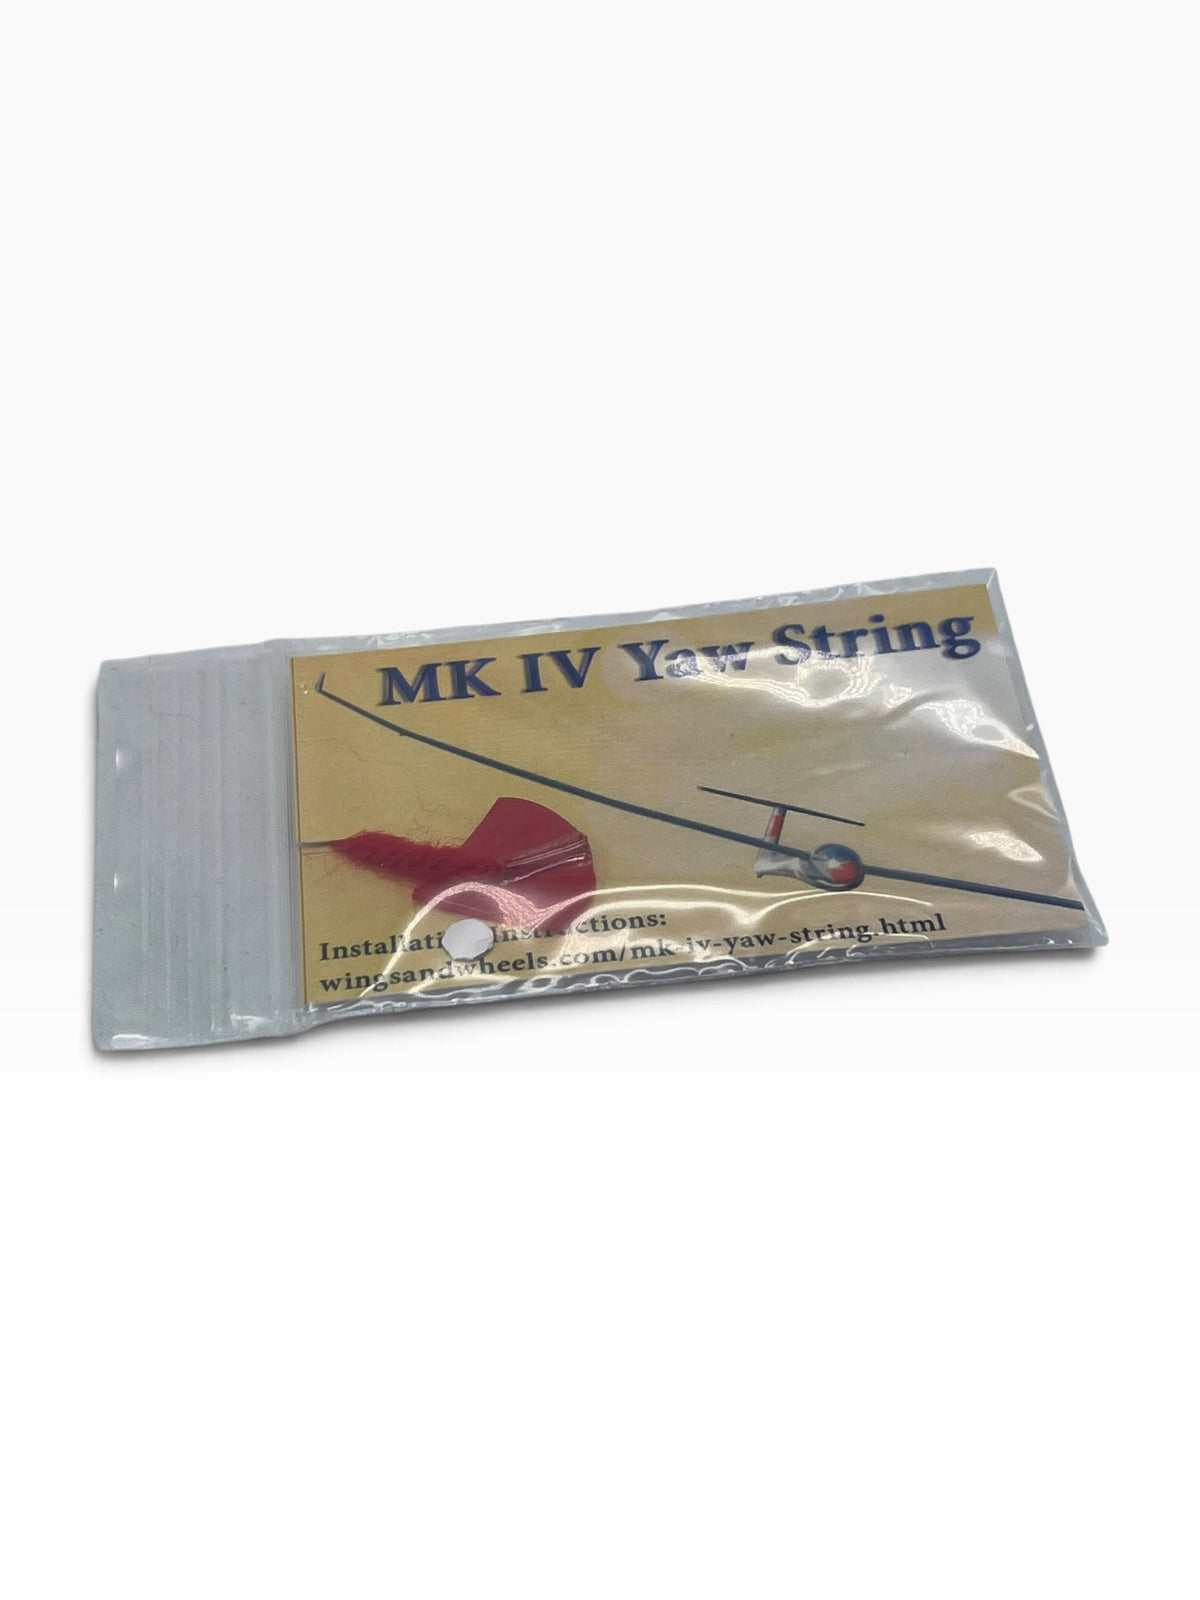
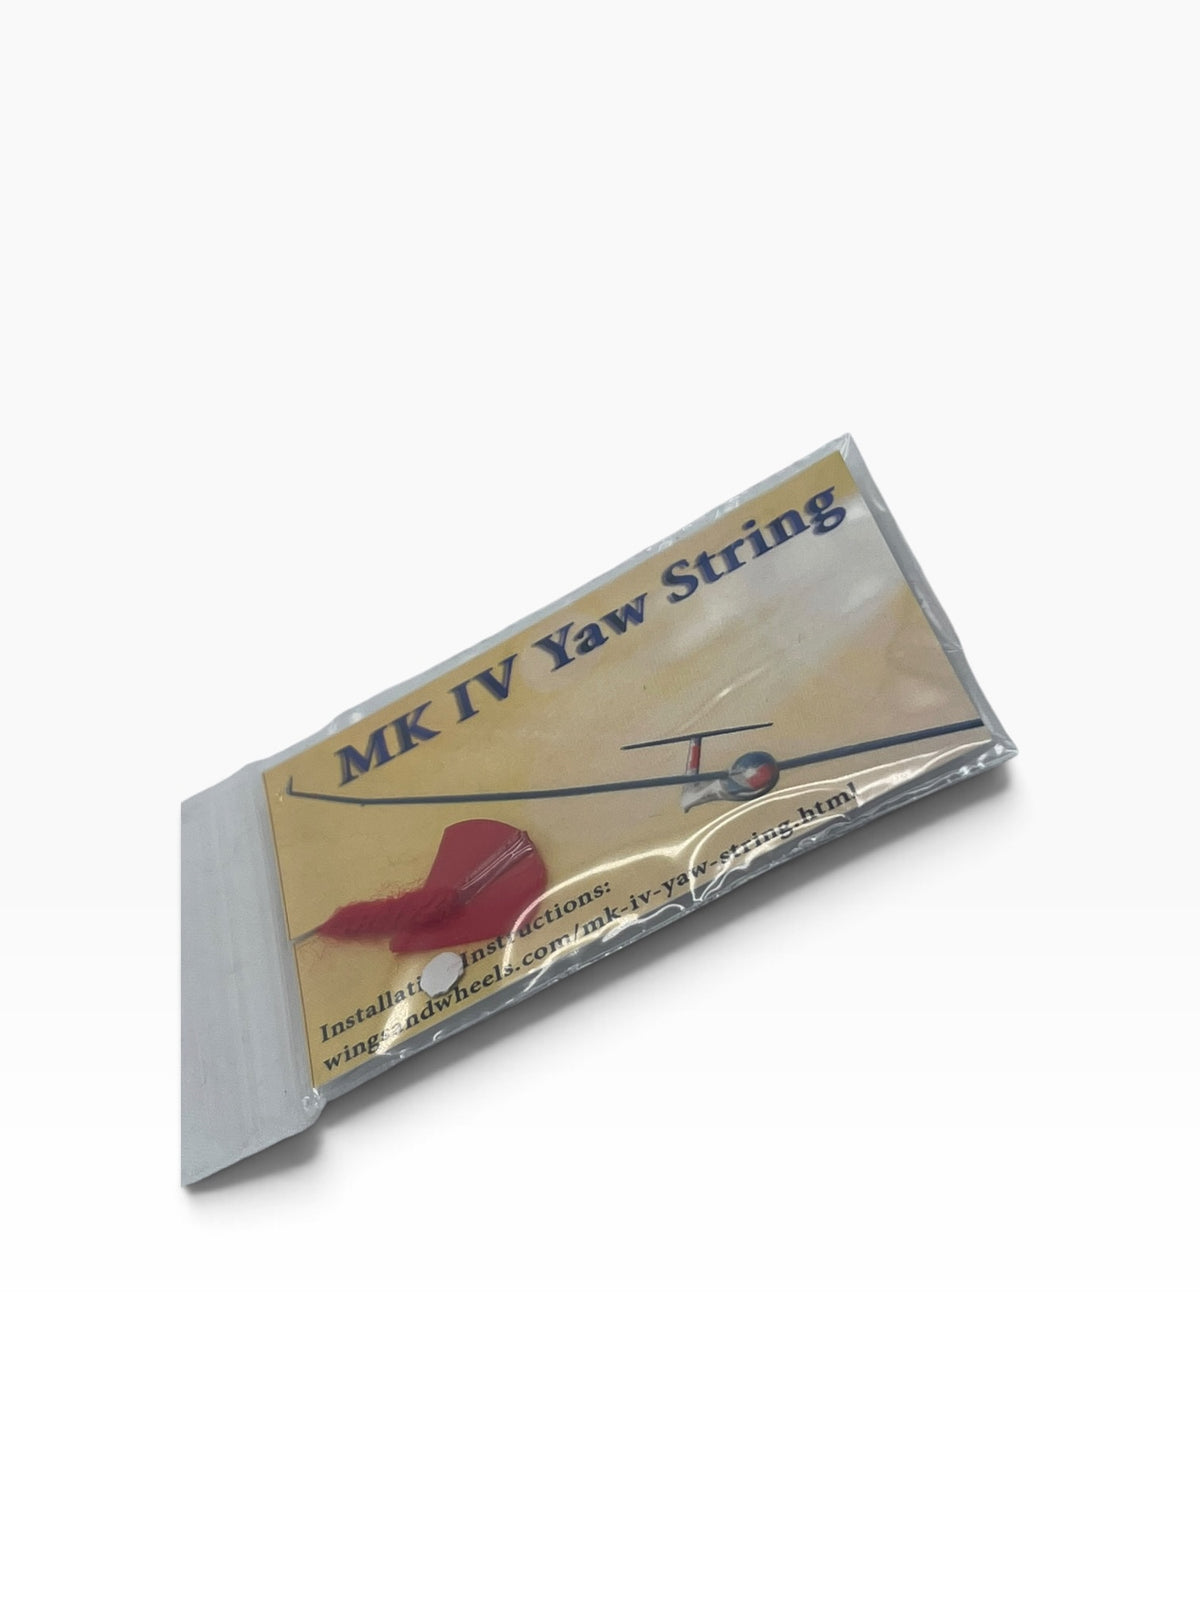
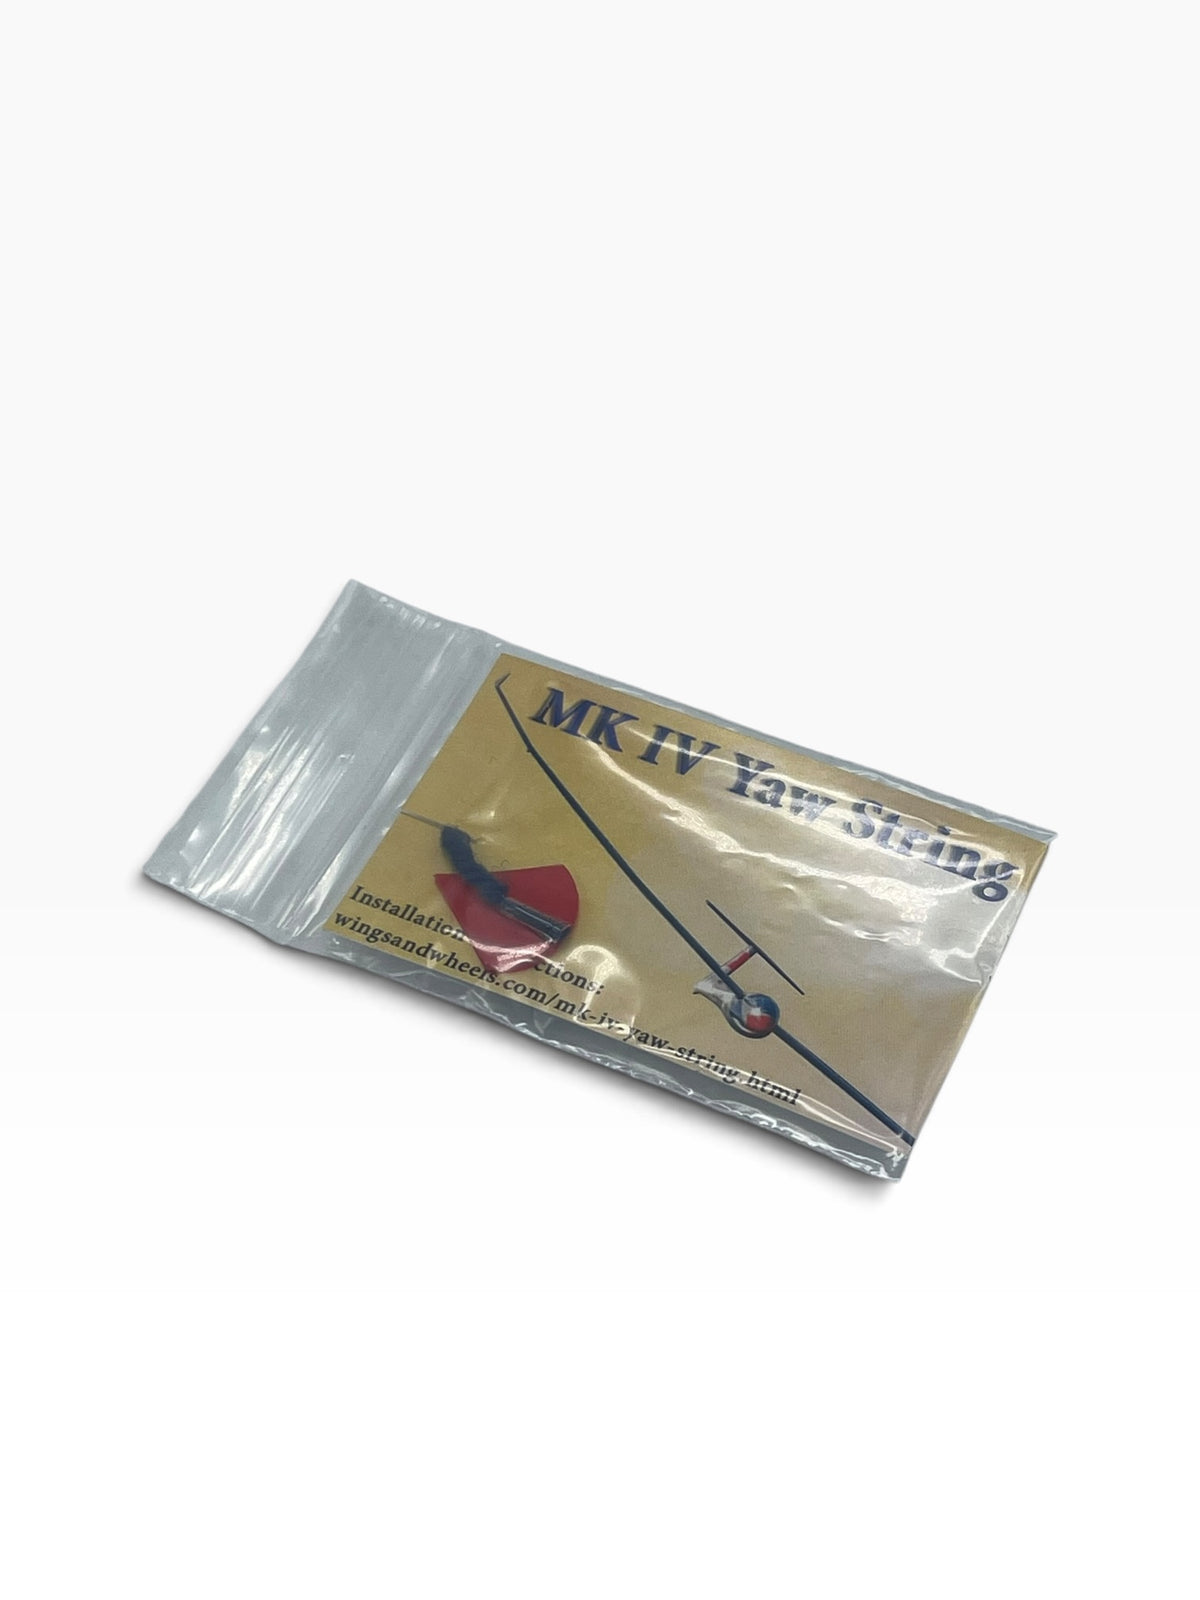
The premium yaw string for gliders, with a clear base that protects your canopy.
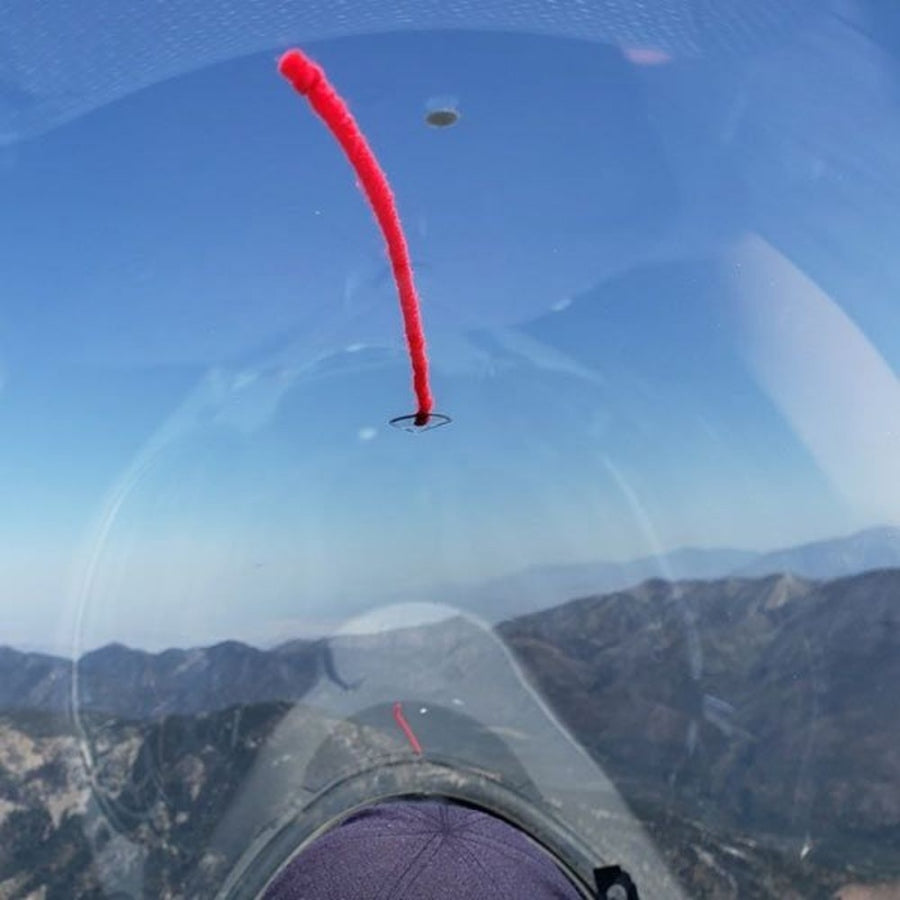
The MK IV is a step up from an ordinary piece of yarn taped to the canopy. Its clear turbulator base lifts the synthetic yarn 0.038″ (approx. 1 mm) off the canopy surface. That stops the yarn scratching the canopy and cuts down static charge. When it's time to replace it, it peels off cleanly and leaves no adhesive residue.
Features
- Clear turbulator base lifts the yarn off the canopy, so no scratching
- Reduces static build-up
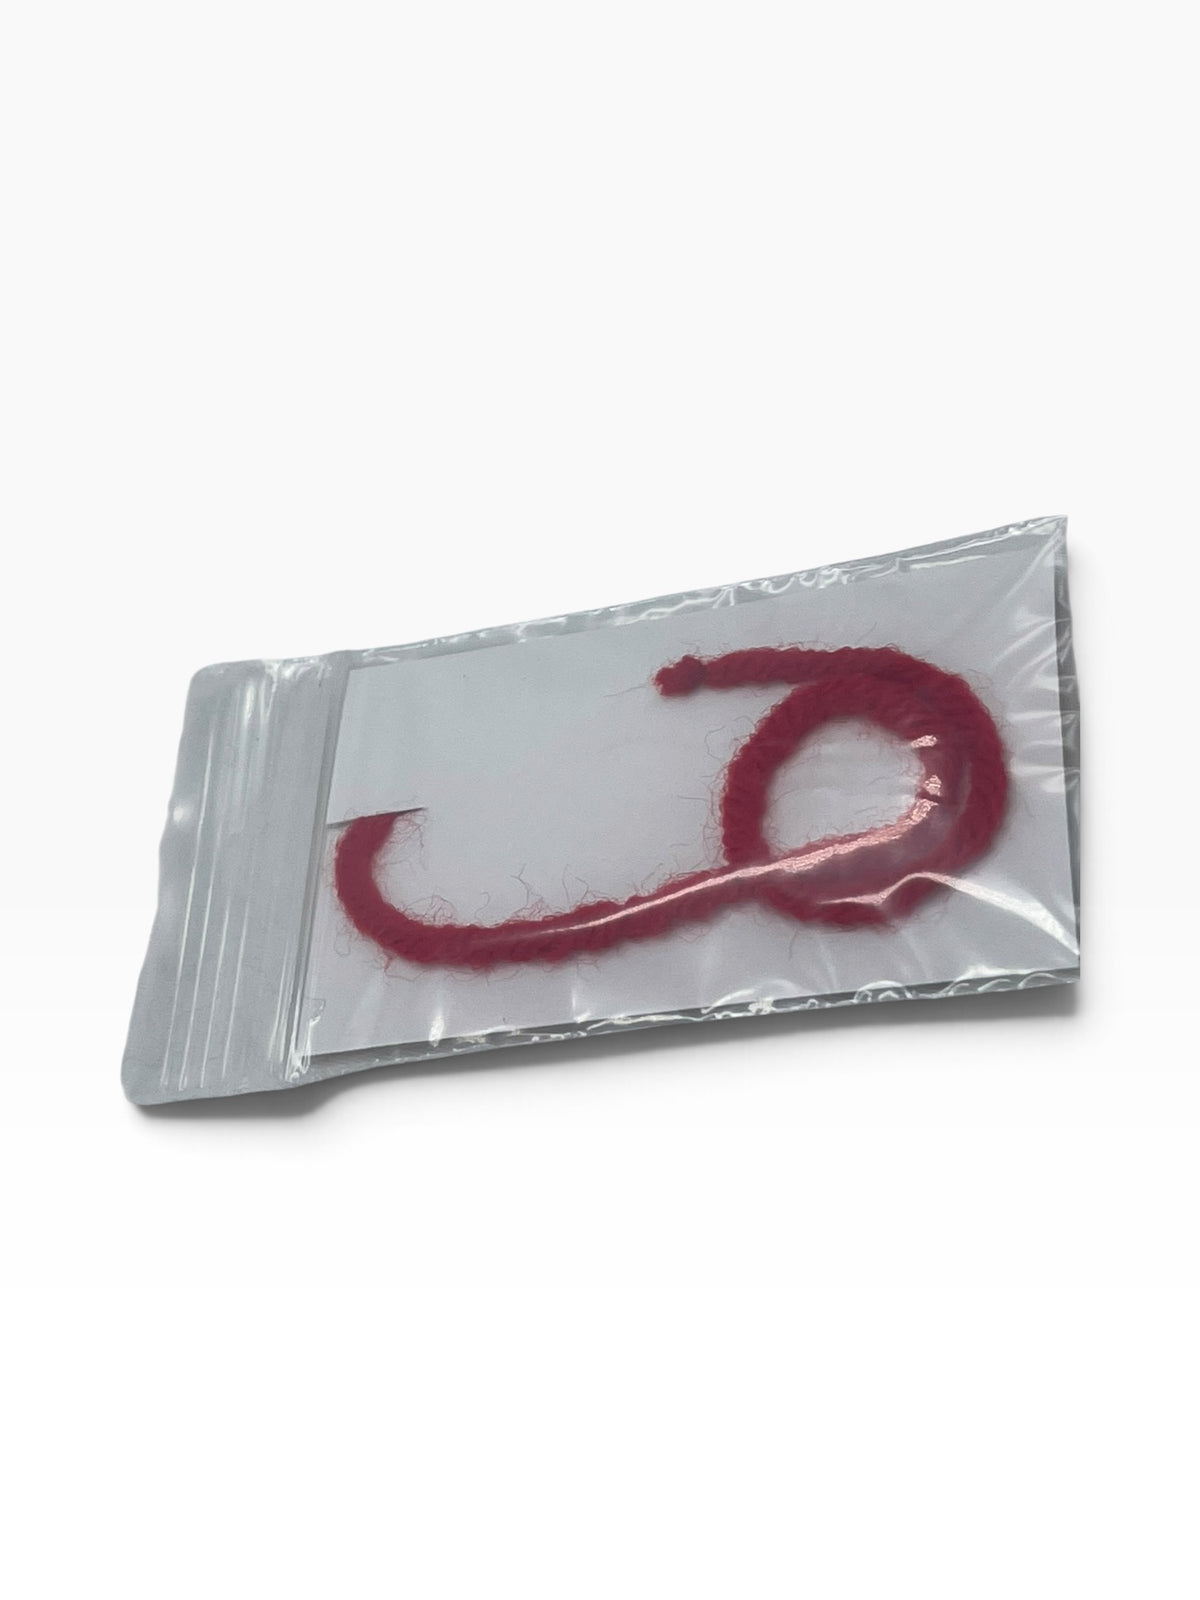
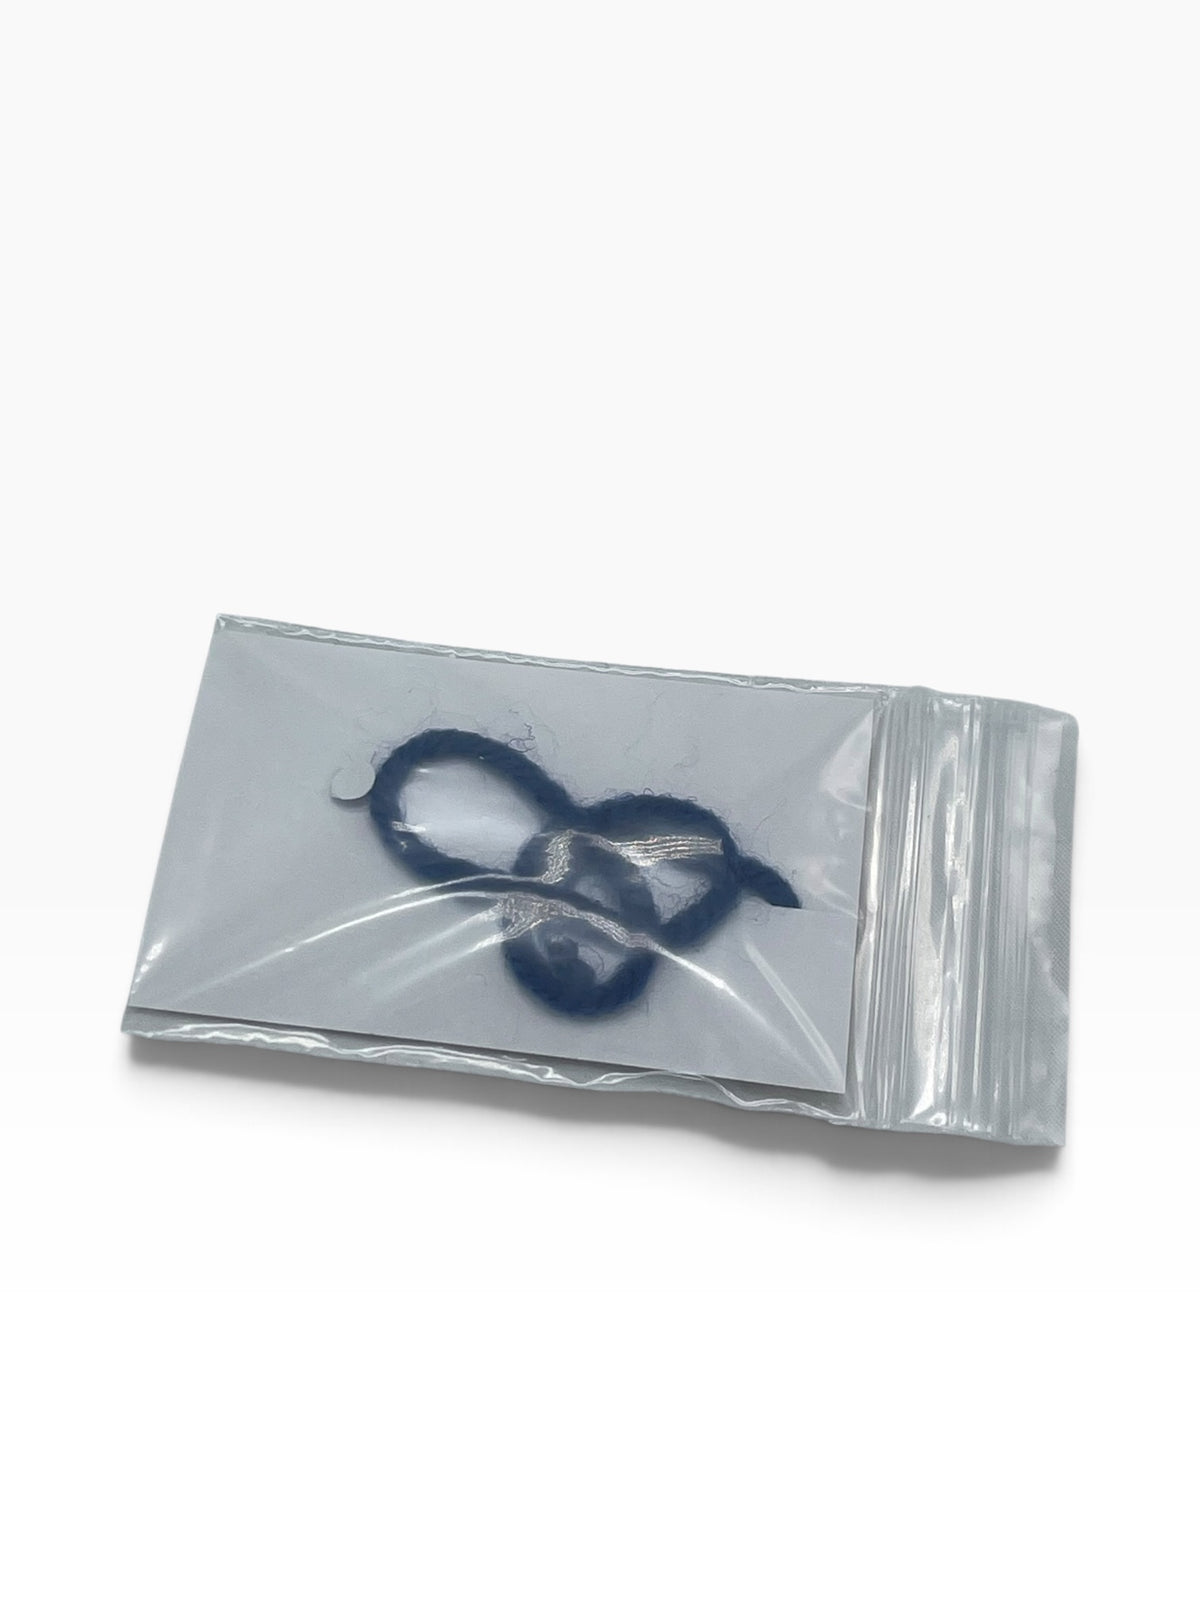
- Premium synthetic yarn, supplied long so you can cut it to length
- Removes cleanly with no adhesive residue
- Includes an optional reflective centre index dot
About the Yaw String
The yaw string is the most effective slip/skid indicator you can fit, and the cheapest. It shows whether you're coordinating rudder and aileron. When the controls are coordinated, the yarn points straight back along the glider's longitudinal axis. In a slipping turn, the tail of the string swings to the outside of the turn.
The rule is simple: step on the head of the yaw string. If the head is right of the tail, apply right rudder. If it's left of the tail, apply left rudder.
Installation Instructions
1. Find the true centreline
Stretch a string from the nose to the top centre of the horizontal or vertical stabiliser, and tape it at both ends. Stand in front of the glider and sight down it to check it's straight and centred all the way along. You may need to adjust it where it crosses the curve of the canopy. Put a piece of masking tape under the string just forward of where the MK IV will go, and mark the centreline on the tape. Move the string aside, clean the area with isopropyl or methylated spirits on a soft microfibre cloth, then put the string back.
2. Make a paper template
Cut a paper strip about 50 mm wide by 200 mm long. Place the MK IV base in the centre so that only the rounded rear section hangs off the edge, with its two corners lined up with the paper edge. Trace around the pointed front in pencil (not ink) to make a "V", then cut the V out. Slide the template under the string with the point of the V facing forward. Check it sits square to the string, then tape the ends down.
3. Prepare the yarn and index dot
Cut the yarn to length, then tie an overhand knot about 6 mm from the end to stop it fraying. If you're using the optional reflective index dot, sit the base in the template, gently stretch the yarn aft, and mark where you want the dot with tape on the outside of the canopy. The dot itself goes on the inside.
4. Fit the index dot (optional)
Remove the string. Clean the inside of the canopy where the dot will go. Gently flex one edge of the dot away from its reflective side to loosen it (don't crease it). Lift it off the backing with a knife tip or fine tweezers, position it, and smooth it down with your finger. Be careful not to scratch the canopy. Then close the canopy.
5. Prepare the base
Handle the base only by its edges or by the yarn. Lift a rear corner of the red liner with a knife tip and peel it off. Stick about 6 mm of the liner's pointed tip back onto the rear centre of the adhesive to make a temporary "handle".
⚠️ Don't touch the exposed adhesive with anything except the liner, and keep the yarn away from it, or you'll lose its optical clarity. The adhesive is very tacky, and once it touches the canopy it can't be repositioned without damaging the base.
6. Apply the base
Steady your hand on the canopy and hold the base over the V cutout by the liner handle. Keep a small, even gap on both sides. Don't push it hard into the V, or the adhesive may touch the paper.
Touch the pointed front down first while you hold the rear up. Use something smooth, like a retracted pen tip, to work the base down slowly. As the adhesive makes contact it looks like water between two sheets of glass, so it's easy to see your progress. Before more than half the base is down, keep the rear lifted, hold the base by its rear corners, and peel off the liner handle. Twist it slightly and pull along the canopy surface so you don't stretch the adhesive. Work the rest of the base down, then press firmly with a finger for a few seconds.
You can fly straight away. Don't wash or disturb the base for 24 hours while the adhesive reaches full strength.
Removal
After a few years the yarn may wear or fade. To replace it, lift an edge and roll the base off with finger pressure. You can also carefully lift the edge of the clear top layer with a fingernail or blade, keeping the tool off the canopy, then peel it away slowly with your fingers or needle-nose pliers. Any leftover adhesive rolls off with finger pressure.
Yaw String vs Inclinometer
An inclinometer is the other common slip/skid indicator. It's a metal ball in a curved, oil-filled glass tube and needs no power. In coordinated flight the ball stays centred. Its cues are opposite to the yaw string: in a slip the ball moves to the inside of the turn, and in a skid it moves to the outside, so the rule is "step on the ball". Gliders' long wings make adverse yaw from the ailerons worse, so good rudder coordination matters more than in many other aircraft. That's why a lot of pilots fly with both.